Table of Content
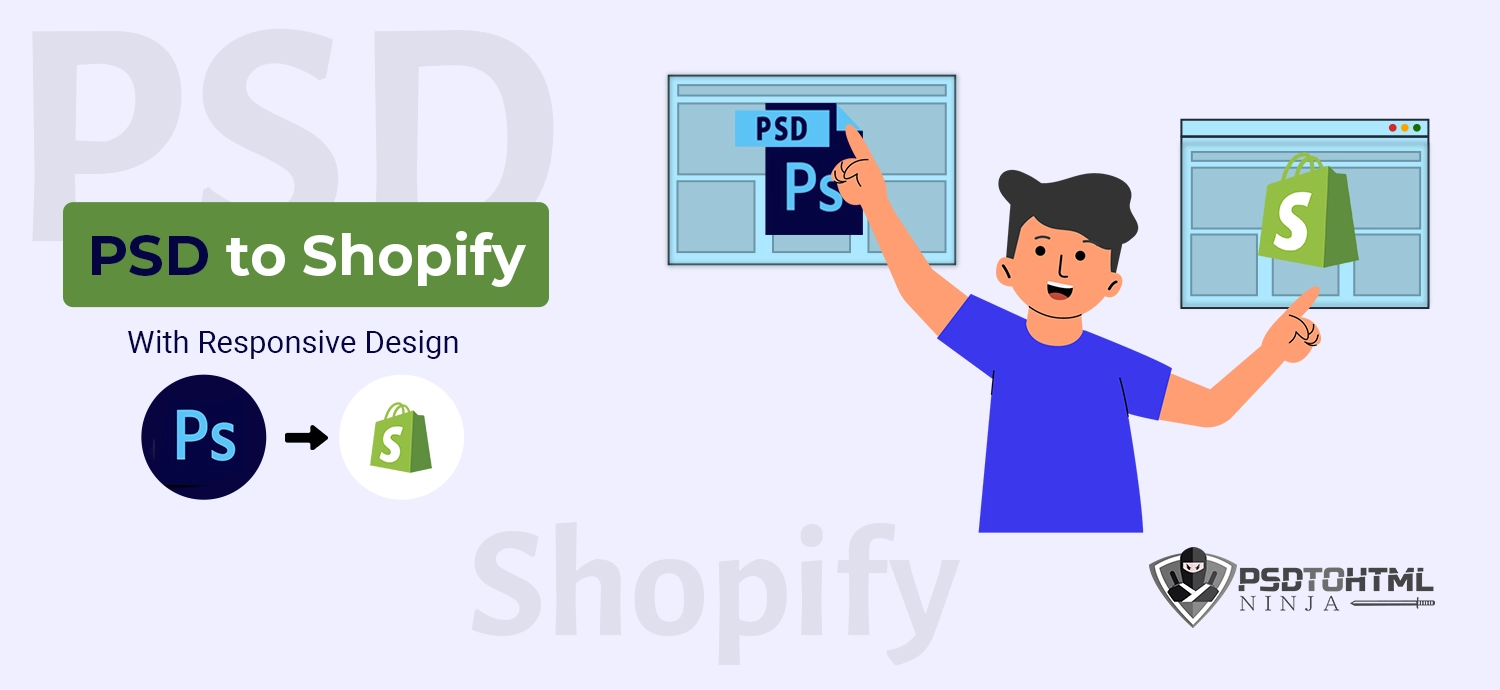
Are you looking to convert your PSD to Shopify? It’s a pretty easy process – and we’re here to walk you through it. In this article, we’ll cover everything you need to know about PSD to Shopify conversion, including:
- The benefits of using Shopify
- How to convert your PSD to Shopify
- How can we help?
By the end of this article, you’ll be ready to start selling on Shopify – so let’s get started!
Benefits of Using Shopify
Launched in 2014, Shopify is one of the biggest eCommerce platforms, with over 5.6 million users. Also, Shopify App Store has more than 7k+ applications to help you extend your website’s functionality (without coding).

Here are some key benefits of Shopify for your business.
#1. Easy to Use and Set Up
Whether you’re a seasoned eCommerce pro or just getting started, Shopify is a great option for setting up your online shop. Shopify is one of the most accessible eCommerce platforms to use.
You can choose from various templates and designs to create a unique look for your store. Besides, Shopify has robust features like a built-in blog, automatic order processing, and 24/7 support.
#2. Robust Marketing Tools
The Shopify platform is designed to help you sell more and grow your business.
For instance, its SEO tools can help you optimize your online store for better visibility in search engines. With the right keywords and settings, you can improve your website’s chances of appearing at the top of search results.
In addition, Shopify’s built-in blog tool can be a great way to generate fresh content that can help improve your store’s ranking.
You can also promote your business on social media and use email marketing, retargeting ads, paid advertising on Facebook and Instagram, Google Ads, Bing Ads, Yahoo Gemini, and the list goes on!
#3. Supports Multiple Payment Modes
Shopify has multiple payment options that allow you to sell your products and services quickly. You can accept credit cards, PayPal, Apple Pay, and other forms of payment directly on your website.
If you want more control over how customers pay for their orders and what they see during checkout (like shipping costs), then Shopify Payments is the best option. It lets you add a custom branded checkout page where customers enter their details before being redirected to pay through Stripe or PayPal.
#4. Powerful Analytics and Reporting
Shopify’s robust analytics and reporting features give you the insights you need to start making data-driven decisions for your business. With Shopify, you can track your sales, customers, and marketing efforts in one place.
This makes it easy to see what’s working and what’s not, so you can make changes accordingly. Plus, Shopify’s reporting is highly customizable, enabling you to get the most relevant information.
#5. Helps Manage Products and Stock
Shopify is a great tool for managing your products and stock. It allows you to keep track of inventory, create product listings, and process orders. It also allows you to set up automated reordering and track sales. This can help you avoid stock-outs and keep your business running smoothly.
Plus, Shopify integrates with many popular shipping and payment providers, so you can get your products to your customers quickly and efficiently.
In short, Shopify makes it easy to keep your products organized and your inventory in sync, so you can focus on running your business.
#6. Allows You to Automate Your Finances
Automating your finances allows you to spend more time running your business and less worrying about bookkeeping and financial transactions.
With Shopify, you can save time by automatically tracking your income, expenses, invoices, and payments. Shopify also handles all the bookkeeping, accounting, tax filing, inventory management, and other administrative tasks that come with running a business.
This frees up more time so you can focus on growing your business instead of doing paperwork.
How to Convert Your PSD to Shopify?
Now that you know why you should use Shopify, let’s understand how you convert your PSD to Shopify!

✅ Step#1: Choose a Shopify Theme
The first step is to choose a Shopify theme. There are hundreds of Shopify themes, so take some time to browse and find one that suits your needs. Once you’ve found a theme you like, click on the “Buy” button and follow the instructions to purchase and download the theme.
✅ Step#2: Slice Your PSD
Once you have your Shopify theme, it’s time to slice your PSD. This simply means breaking your PSD design into smaller pieces or “slices.” You can do this by using editing software like Photoshop or Sketch.
Start by opening your PSD file in your image editor. Then use the “slice” tool to break the design into smaller pieces. You can slice the design horizontally, vertically, or both. However, make sure each slice is saved as a separate image file.
✅ Step#3: Convert Your Slices to HTML/CSS
Now that your PSD is sliced, it’s time to convert the slices to HTML and CSS. This can be done using a code editor like Dreamweaver, Sublime Text, or Atom.
Start by creating a new HTML document in your code editor. Then, add the HTML code for each slice.
✅ Step#4: Add Your HTML/CSS to Your Shopify Theme
Now that your HTML and CSS are complete, it’s time to add them to your Shopify theme. You’ll need to edit the theme’s “layout” and “stylesheet” files to do this.
First, open the “layout” file in your code editor. This file controls the overall structure of your Shopify theme. Look for the “body tag” and add your HTML code inside of it.
Next, open the “stylesheet” file. This file controls the CSS styles for your Shopify theme. Add your CSS code to this file and save it.
✅ Step#5: Customize Your Shopify Theme
Now that your HTML and CSS have been added to your Shopify theme, it’s time to customize it. You can edit the theme’s “settings” and “customize” files.
The “settings” file controls the overall settings for your Shopify theme, such as the site title, color scheme, and font choices. To edit this file, simply open it in your code editor and make the changes you want. Save the file when you’re done.
The “customize” file controls the settings for the theme’s customization panel. This panel allows you to change the theme’s colors, fonts, and other settings. To edit this file, simply open it in your code editor and make the changes you want. Save the file when you’re done.
✅ Step#6: Publish Your Shopify Theme
Once you’ve customized your Shopify theme, it’s time to publish it. To do this, log in to your Shopify account, go to the “Themes” section, and click on the “Publish” button. Follow the instructions to complete the process.
How Can PSD to HTML Ninja Help?
PSD to HTML Ninja can help with PSD to Shopify conversion in a few ways. Firstly, we can help you plan and design your Shopify store. We can also provide you with coding and development support to ensure that your store is built correctly.
We can also help you with marketing and promoting your store once it’s up and running. So if you’re looking for help with any aspect of PSD to Shopify conversion services, get in touch with us at PSD to HTML Ninja.
You can also hire dedicated PSD to Shopify developers from us to get complete control over your project!
Let’s connect!
Read more: How to choose the best Shopify development company for your business?

I am responsible for creating a sales funnel, attracting potential customers, and converting them into actual buyers.
Couldn't find what you were looking for?
Let us know how we can help!

Related Blog Posts