Table of Content
If you plan to build a full-fledged eCommerce store, Magento is one of the best platforms out there, powering over 1.2% of the sites on the internet (270,000 websites). Also, Magento accounts for around 25% of the eCommerce stores out there.
Though Magento offers a lot of templates, many store owners prefer creating their own theme (using PSD files) to be unique, stand out from the crowd, and reflect their brand’s personality.
And since you’re reading this, I’d assume you also aim to create a unique theme. And it makes sense as PSD files give you complete control of what your customers see. I mean COMPLETE!
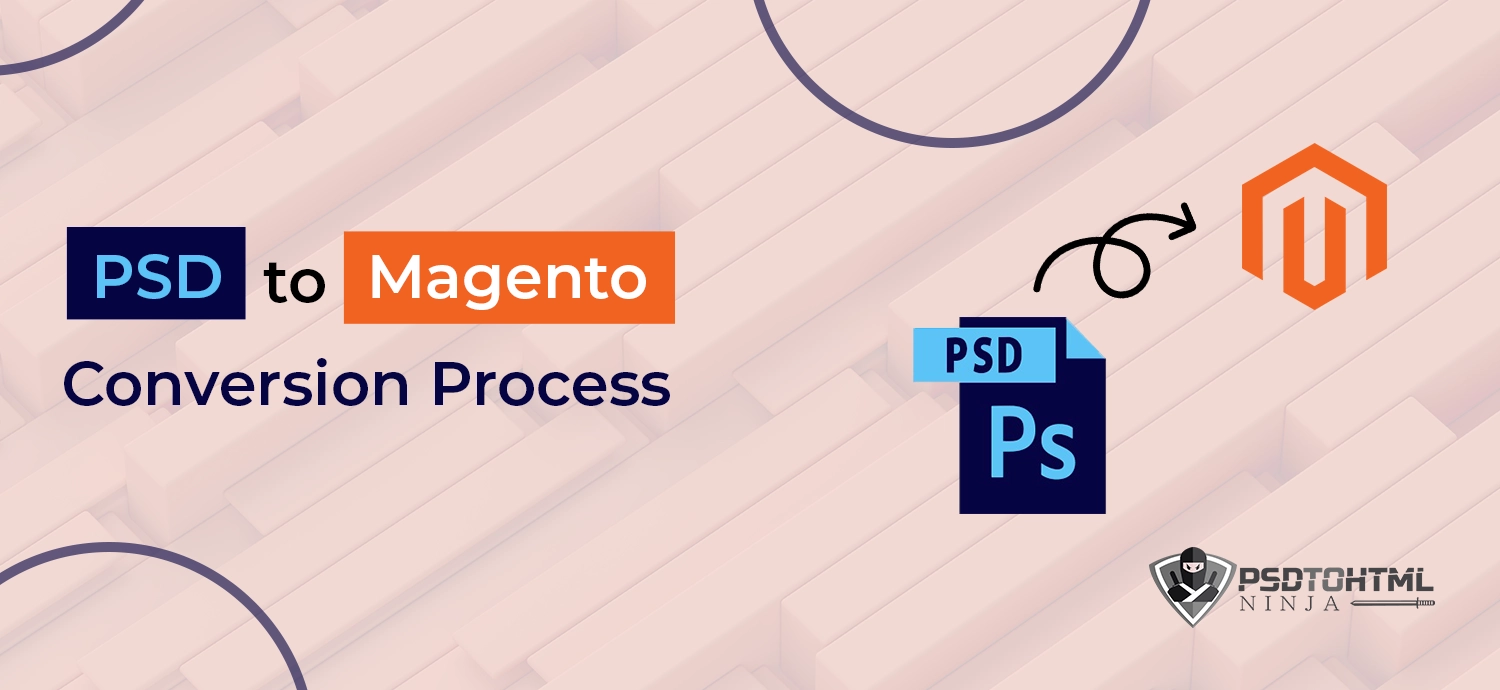
Having said that, let’s take a look at how you can convert PSD to Magento.
#1. Cut the PSD File into Multiple Images
A PSD (Photoshop Document) might contain multiple image layers. Meaning it could be a combination of pictures.
Therefore, it is essential to slice the file into separate pictures first. This will allow you to code each part of your Magento theme separately. This, in turn, will prevent your theme from breaking and ensure smooth PSD to Magento conversion.
Also, you can modify the font, color, or background of a specific aspect of your eCommerce theme.
When slicing your PSD file, begin with the:
- Header and navigation bar,
- Background, and
- Footer
Use Adobe Photoshop to slice the PSD images. And, make sure to save them in the same format, i.e., PSD.
#2. Create HTML and CSS Files
The next step is to convert your PSD files into HTML and CSS. Ensure that your Magento theme looks exactly the same as the PSD file (though you can modify the font, color, or background).
It is recommended to create two different files for HTML and CSS. This will keep the codes clean (just in case you want to modify them later) and make it easier for you to understand them.
You could choose to hire a Magento developer or do it yourself. HTML and CSS are not tough. You can learn them from tutorials.
#3. Integrate HTML and CSS Files Into Magento
Analyze your HTML and CSS files and make sure they are working correctly. Then, integrate them into the Magento platform. Here’s how:
Adding HTML file to Magento
Step#1: Visit the Admin of your store (at the sidebar).
Step#2: Go to Content > Elements > Pages.
Step#3: Open the page you want to add the HTML in the edit mode.
Step#4: Hover over the HTML container to display the toolbox and click on the Settings icon.
Step#5: In the text box, paste your HTML code (that you created).
Step#6: Click on Save in the upper-right corner to apply the settings.
Adding custom CSS file to Magento
Step#1: Visit Content > Design > Configuration.
Step#2: Click on edit under the action tab.
Step#3: Add your CSS file in /app/design/frontend/<Vendor>/<Theme_Name>/web/css/source/local.css
Step#4: Run clear cache command in the Magento root directory.
Note: You can even visit Magento’s Frontend Developer Guide to learn about how Magento themes work and edit them.
#4. Test the Theme
The last step is to test your theme to ensure your PSD to Magento conversion was successful.
When testing the theme, focus on:
- Compatibility: Does your eCommerce store look and provide the same experience on every device (desktop, phone, and tablet) and browser?
- Navigation: How easy is it to find information on the page?
- Content: Are the content easy to read on different devices?
- CTA: Are the buttons clickable?
Wrapping Up
PSD to Magento conversion isn’t tough, provided you’re well versed with Photoshop (to slice the files) and coding (HTML and CSS). Follow the steps mentioned above to convert your PSD file to a Magento theme.
Are you looking to convert your PSD design into a Magento store? We’ve been helping businesses with that and will be happy to assist you too. Order now!

I am responsible for creating a sales funnel, attracting potential customers, and converting them into actual buyers.
Couldn't find what you were looking for?
Let us know how we can help!

Related Blog Posts