Table of Content
Designers in 2025 are switching from Photoshop to Figma for various reasons. The decision may sound challenging, but it offers benefits in the long run.
Converting PSD files is also a significant part of the Figma to WordPress workflow that is adopted by top developers. Figma, as a design tool, has earned a market reputation for offering advanced design features and syncing well with WordPress.
It allows you to collaborate in real-time with other designers and the project management team. We created this guide to walk you through the steps and processes of moving from Photoshop to Figma.
Here is what you can expect:
- Organized project management
- Pixel-perfect designing
- Instant team collaboration
- Faster design process
Having the right knowledge of Figma streamlines your WordPress development workflow. You can design and develop highly responsive and visually appealing websites. Let us begin and see the magic of converting your PSD files into Figma designs.
Why Designers Move From Photoshop to Figma
Figma is a go-to interface design tool in the modern era, surpassing the transitional Photoshop platform. Graphic and web designers prefer it for its speed, collaboration, and user friendliness.
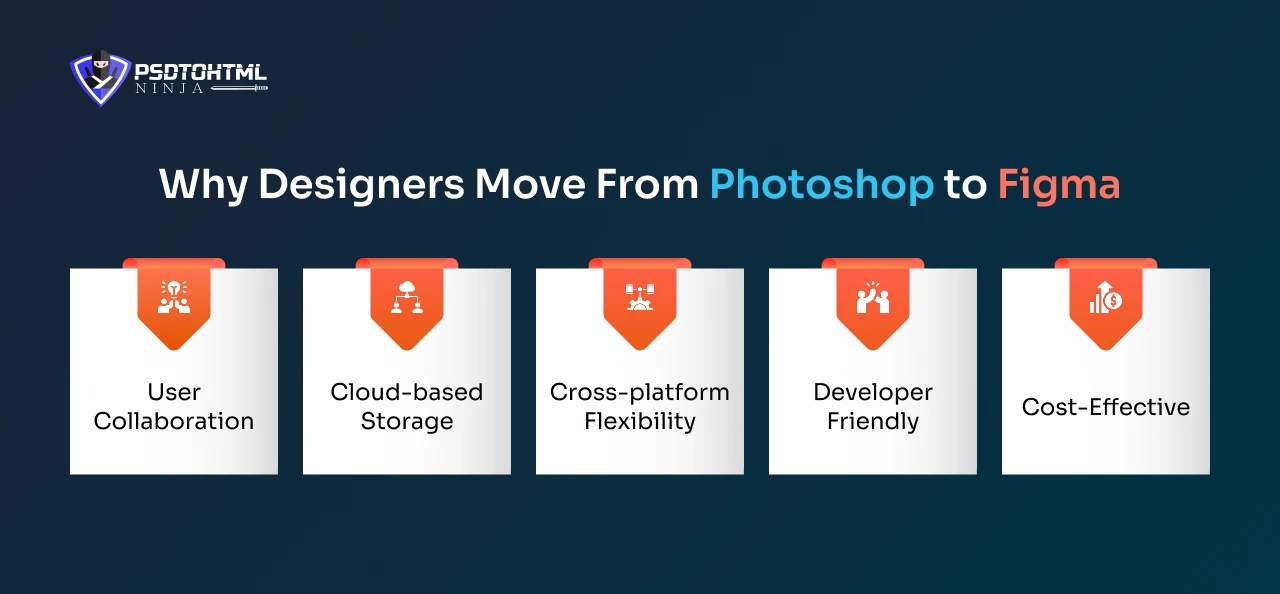
#1. User Collaboration
Figma enables real-time collaboration, allowing multiple designers to contribute to a design project simultaneously. In contrast, this is not possible with Photoshop, which is made for solo designing.
#2. Cloud-based Storage
All your Figma designs are stored on the Cloud, allowing you to access them anytime and anywhere. You no longer need to worry about losing the design progress, and all the changes are automatically saved. This is specifically useful for teams working in a remote setting.
#3. Cross-platform Flexibility
While Photoshop is primarily desktop-focused, Figma can be accessed on any device, be it a Mac, Linux, Windows, or even a Chromebook.
#4. Developer Friendly
PSD files are slightly complicated for developers to work on. Whereas Figma allows easy element inspection, drag and drop, and direct asset export. This makes the coding stage flawless and speedy.
#5. Cost-Effective
Photoshop offers a subscription plan, which increases the project budget. But Figma offers attractive features even in the basic plan, giving designers the flexibility of creating impactful designs at low costs.
Transferring from PhotoShop to Figma is a bold and beneficial strategic decision that enhances your creative process.
Moving from PhotoShop to Figma provides your design team with better collaboration, speed, and design consistency.
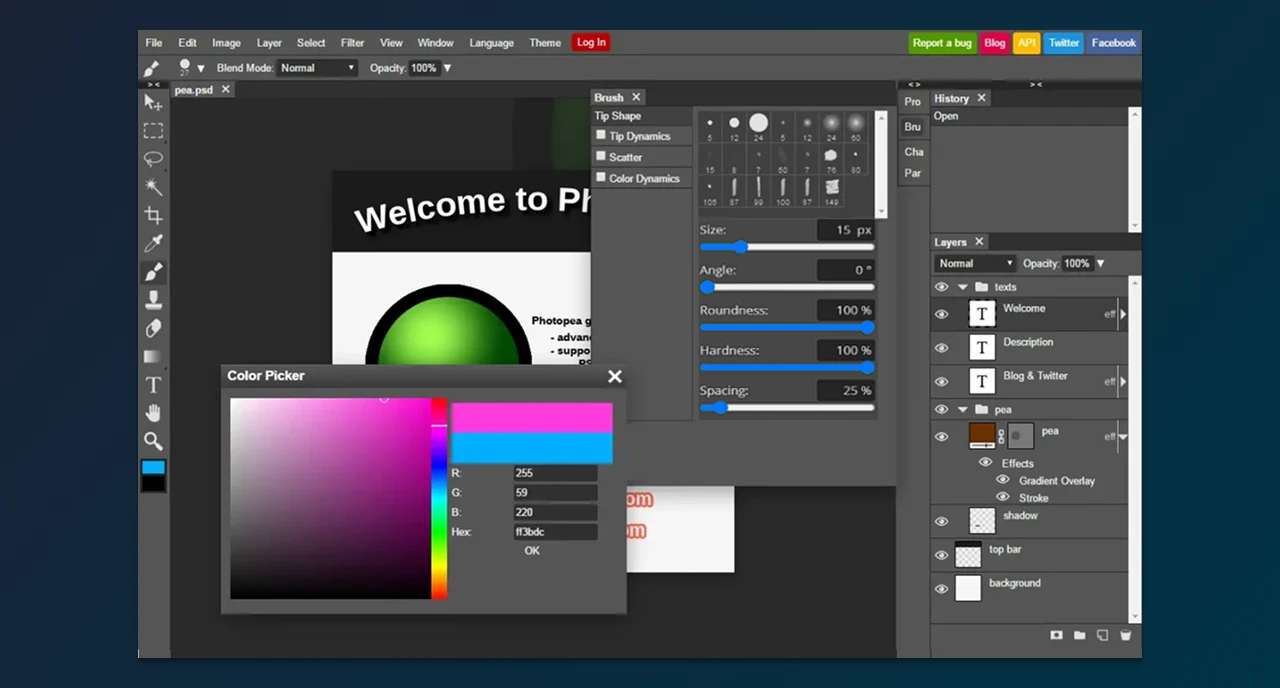
Understanding PSD to Figma Conversion: What Actually Happens

Converting PSD designs to Figma involves a complicated process that is far more than simply dragging and dropping. Designers have to ensure each pixel of the PSD file is accurately converted to Figma.
Let us see what happens when static PSD designs are transformed into a vector-driven Figma design environment.
The process begins with converting the Photoshop design layers to editable Figma-compatible layers. Other Photoshop features, like Smart Objects, are further converted into Frames and Components, and auto-layout frames.
Designers also manually download the images from the PSD file and place them into Figma. By the end of the conversion process, designers have to make a few more tweaks and edits to ensure the converted design is accurate, consistent, and functional.
3 Easy Methods to Convert PSD to Figma Efficiently
Are you searching for popular ways to migrate your design system to Figma? We have enlisted the three major methods to make your PSD to Figma journey smooth and fast:
Method 1: Manual Conversion of PSD to Figma
The manual conversion method is highly regarded by top UI/UX and web designers who want pixel-perfect conversion. Though time-consuming, manual conversion requires great technical skills and hands-on conversion experience. It ensures complete design control and precise migration.
Let us see how you can manually convert a PSD file to Figma:
Step 1: PhotoShop Asset Export

To get started, open your PSD file in Photoshop. Once you are in, you will have complete access to all the layers and visual elements that make up your design.
Next, pay attention to the components that will need to stand alone in Figma, like logos, icons, illustrations, or photos. Spotting these early on is key to ensuring that each piece transfers smoothly without degrading the quality.
When it comes time to export, make sure to select the right format for the type of asset you are working with. For images or graphics that depend on pixel precision, go with PNG. If you are dealing with icons, shapes, or other elements that need to stay scalable, SVG is the way to go. This choice is crucial, as it will impact how your design functions once it is put back together in Figma.
Step 2: Prepare the Figma Project
Open Figma and create a new project to rebuild your PSD file. Now set up frames matching the dimensions of the original PSD file.
This step creates a base for the conversion process essential for reconstructing the layout.

Step 3: Import Assets and Elements in Figma
From the Figma dashboard, click on the ‘Import’ feature. This will help you import all the assets you extracted from the PSD file. The PNG and SVG files will be imported to Figma.
After importing, place each element or asset into its corresponding position within the frames you set up in the Figma project. You have to pay attention to detail to make sure every element is properly and precisely placed at the correct spot.
More Design Resources: Top Best Website UI Design Examples to Inspire You
Step 4: Recreating Layout and Styles

Based on the Photoshop design, we now have to rebuild the overall layout and structure in Figma. This is done by positioning the imported assets and elements based on the original structure.
Now make edits to the alignments, font style, size, colors, etc., to replicate the PSD design. The overall topography is edited in this step for accurate results.
Make sure to consult expert Figma designers like PSDtoHTMLNinja for pixel-perfect conversion. Having a strong grasp on Figma means you can leverage the styling tools to achieve a design like the PSD file.
Step 5: Recheck and Make Adjustments
Since we are converting manually, it is crucial to check the design structure and layout. Carefully compare your new Figma design with the old PSD file. Check for any gaps in the various design elements like the font style and size, background color, images (if any), graphics, etc.
This helps in identifying elements that need further adjustments to ensure that the Figma version is an accurate representation of the original PSD design.
Method 2: Using Figma Plugins for PSD Import
The second method we are discussing in this guide is using plugins for importing PSD elements. Figma is a great tool, and it offers various plugins to conduct this task.
Automated tools specialize in Photoshop to Figma conversion and ensure high-speed migration. Here is how you can do it:
Step 1: Choose the Plugin
The Figma community offers a wide range of plugins that can simplify the conversion process. We have added a table below with the popular Photoshop to Figma plugins.
Now that you have a clear understanding of plugin usage, you can convert your PSD design into Figma with the help of a suitable plugin. However, using plugins is not always recommended as the design accuracy is affected.
Step 2: Plugin Installation
- Open the Figma platform
- Click on the Community Tab > Community
- Type the plugin name in the search bar, which will open a detailed view
- Click on Install
Step 3: Import the PSD File

After you’ve installed the plugin, the next step is to bring your Photoshop file into Figma. Just open the plugin from the Figma menu, and then use its interface to find and upload your PSD file.
Once it is uploaded, the plugin will start converting your design. It translates layers, groups, and styles into elements that work seamlessly in Figma, allowing you to keep working just like you would in a native Figma project.
- Open a new Figma file
- On the top right corner, select Plugins > The plugin you installed > and launch it
- A new window will appear to open your .psd file
- Select the file, and the Photoshop file will be converted into an editable Figma design
If your PSD is particularly large or complex, it might take a bit of time, but the aim is to maintain the original structure and visual quality as much as possible.
Step 4: Verify the Converted File
Now that the plugin has automatically converted your PSD design to Figma, it needs to be thoroughly checked.
Check that all the elements are rightly placed with accuracy, and the layout matches the original PSD file.
Step 5: Editing and Customization
You can now make changes to the converted Figma file to make it a more vivid representation of the PSD design.
Start this by editing elements that were not properly converted, like polishing the effects and fine-tuning the fonts. You can use Figma’s in-built features to enhance the design.
Keep in mind user experience and usability while making these edits. For example, the search bar should be rightly placed, fonts should be clearly visible, and the overall layout should be clean.
In this step, you should make the final edits to your file to ensure easy navigation, comfortable usability, and efficiency.
Must Read: Figma To HTML: The Ultimate Guide To Convert Your Figma To Code
Method 3: Hiring Third-Party Conversion Services
Step 1: Hire a Service Provider
The easiest and popular method of turning your PSD design into Figma is by hiring an expert conversion company. They can help you with:
- Pixel-perfect conversion
- Affordable and pocket-friendly pricing plans
- Photoshop and Figma platform expertise
- Customer support availability
- Impressive client reviews and testimonials
- Quick response and speedy conversion services
If you checked all these specifications, then PSDtoHTMLNinja is your go-to partner. They boast an experience of 13+ years in the industry, and their team consists of experts trained and certified in Photoshop and Figma.
Step 2: Kick-off Meeting
Most service providers conduct an initial meeting to discuss the project, design requirements, price and billing, and your expectations.
Step 3: File Submission
Once everything is settled and an agreement is made, you can share your PSD file with the assigned project manager.
Step 4: Delivery
The PSD to Figma conversion agency will deliver the converted file to you on the promised date. You can now check it and share your feedback. Here is how you can do it:
- Open the file in Figma
- Open your PSD file separately
- Compare both the files and note if any changes are needed
- Check the layout, visual elements, effects, font, typography, etc.
Step 5: Final Edits
Inform the team about the changes and required adjustments. These final tweaks may include:
- Re-adjusting the elements for perfect symmetry
- Proper organization of layers and frames
- Overall design accuracy
At PSDtoHTMLNinja, we prioritize accuracy. We provide timely support and guidance throughout the project so your requirements are met.
Understanding How Figma Handles PSD Elements
Moving from PSD to Figma is a big task. You have to ensure that all elements are properly translated across these platforms, without losing their core appearance and usage. Here is how Figma manages to accurately transform PSD elements:
1. Layers & Groups
Figma does a great job at converting Photoshop layers into editable groups, keeping the hierarchy intact. This means designers can continue their work without having to start from scratch.
2. Typography
The fonts from your PSD file are matched with the fonts available in Figma. If you happen to use a font that isn’t available, you can easily substitute it or upload your own custom fonts to keep everything looking consistent.
3. Colors & Styles
Figma accurately translates color palettes, gradients, and styles, which helps maintain the overall aesthetic of your design.
4. Images
Images and Assets are imported as high-resolution files, ready to be used in Figma’s responsive design environment.
Common Issues and How to Troubleshoot Them
When switching from PSD to Figma, you may encounter some challenges. We have enlisted the common problems and their possible solutions to make your conversion as smooth as possible:
Misaligned Layers
➔ Sometimes the alignment of layers gets disturbed while converting into a different format.
➔ This issue can be solved by manually changing the layer alignment.
Font Unavailability
➔ The font used in the original file may not be available in Figma.
➔ You can select another font that closely matches the original one, or install the same font style in Figma.
Low Res Images
➔ The image quality degrades while converting the PSD design to Figma.
➔ Check the settings and change the export settings to ‘preserve image quality’.
Mismatched Colors
➔ Color values in the exported file can have variations.
➔ You can manually adjust the color values in Figma.
Best Practices for a Smooth PSD to Figma Workflow
Converting PSD to Figma benefits you with the collaborative and advanced features that Figma, as a platform, offers. While using Figma as your standard designing tool is itself a huge advantage, you can get clearer and enhanced conversions by adopting the best practices:
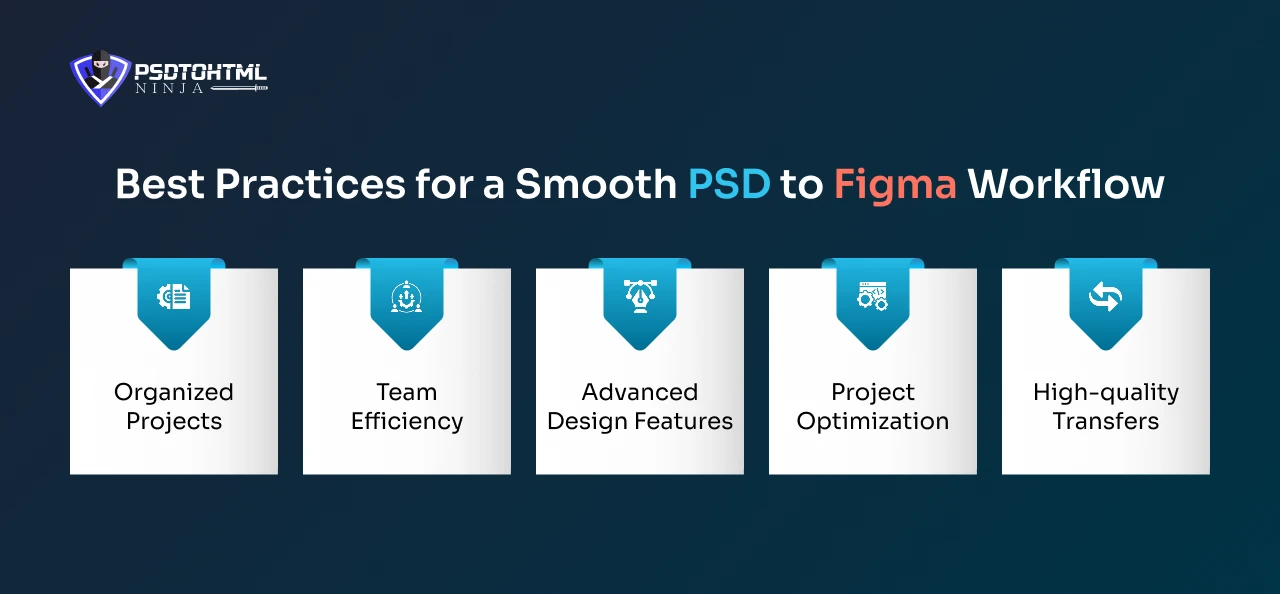
Organized Projects
With Figma’s file management system, your designs and projects remain clean and uncluttered. Layers, components, and assets are neatly organized for the designers to easily navigate and work.
Team Efficiency
Utilize the real-time collaboration feature of Figma to complete the project on time. This boosts work efficiency and team morale as all the team members share feedback and make instant updates.
Advanced Design Features
The powerful design features offered by Figma enhance your project. You can create advanced prototypes and vector networks with Figma’s super-effective advanced design tools.
Project Optimization
You can also learn various shortcuts to quickly create layouts in the Figma environment. The cloud-based platform also eliminates the need to sync files, leading to quick design.
High-quality Transfers
One of the biggest worries when switching from Photoshop to another design tool is the fear of losing image quality due to compression. Fortunately, with Figma, you can put those concerns to rest.
This platform handles high-resolution images and intricate design details beautifully, ensuring that your creations retain the same sharpness and clarity you enjoyed in Photoshop. Your visuals transition smoothly, so you won’t have to sacrifice anything in the process.
PSD to Figma in the Bigger Workflow: WordPress and Beyond
PSD has existed as a great tool for designing, but when it comes to shifting to the WordPress workflow, the design format should be reusable, easily editable, and user-responsive. All these specifications are met when you switch to Figma.
WordPress is used by countless developers and designers across continents. It is a go-to website development platform that offers cutting-edge tools.
- The open-source nature of WordPress allows developers to easily access its source code.
- WordPress offers a plethora of plugins and templates for quick website development.
- The platform has an SEO-friendly structure that guarantees higher SEO rankings.
How Figma Fits in the WordPress Workflow
Design and development go hand-in-hand. Therefore, you need to choose platforms that give you the best of both worlds. Converting a Figma design to WordPress offers various benefits. While developing the website, developers need designs that are easy to work on. Here is how Figma sails smoothly with WordPress:
Visual Planning
Designers turn to Figma to whip up mockups, wireframes, and prototypes that create the website’s structure, colors, and typography before diving into development.
Reusable Components
Elements like headers, buttons, and other UI components crafted in Figma can be consistently used throughout the WordPress build.
Exporting Assets
Images, icons, and SVGs made in Figma can be easily exported and uploaded straight into WordPress, ensuring everything stays true to the design.
Clear Handoffs
Developers receive pixel-perfect designs and interactive prototypes, which helps cut down on miscommunication and the need for rework.
Responsive Previews
Figma lets designers test layouts on various devices, ensuring that the final WordPress site looks fantastic no matter where it is viewed.
You may also like to read: Convert Figma to Elementor in 5 Easy Steps (With Visuals)
Final Thoughts: Simplify the Shift From Photoshop to Figma
Are you preparing to convert a PSD (Photoshop) file to Figma? The process requires extreme precision and attention to detail. Certain aspects of your original PSD file are complicated, and it becomes tough to accurately transform them into Figma. From maintaining design consistency to editing the design elements for 100% accuracy, the process involves different approaches.
You can hire PSDtoHTMLNinja for converting PSD to Figma. We are a professional Figma design company that also takes care of further steps, like converting the Figma design to WordPress. Feel free to contact our support team for more information.

Prince Jadiya holds the position of Chief Marketing Officer at Psdtohtmlninja.com, where he assists organizations in overcoming web development obstacles. He is also known for him informative and engaging blog posts.
Couldn't find what you were looking for?
Let us know how we can help!

Related Blog Posts